These are the pictures that started it all, from Domino's June/July issue:

& from Design*Sponge:

So I started with this:
- some lumber for mounting (I ended up using a less dense craft wood than what is pictured here, just because it's easier to drill)
- screws (I didn't use the anchors because I drilled right into studs)
- my beautiful new Ryobi drill
- a level
- spray paint (in Painters' Touch Caribbean Blue)
- a tape measure
- some s-hooks (which didn't fit and I took back)...

- a pegboard accessory multipack similar to this one...
A quick description of how it's done:
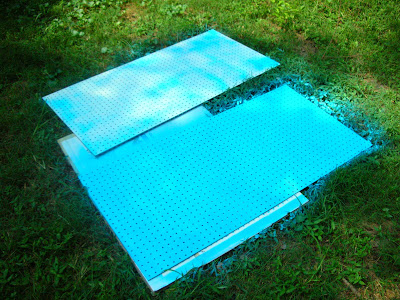
- Spray paint the pegboard.
- Find studs and mount either a frame of your spacing wood or a few pieces of your spacing wood where the corners of the pegboard will go. I used the same pieces for the bottom corners of the top piece and the top corners of the bottom piece, so there were six spacers in all.
- Mount the pegboard to the spacers (my screws were long enough/spacers were thin enough so that the screws went through the spacers and still drilled into the studs a little).
- Hang your pegboard accessories however you like, and hang your stuff in/on them!
& I ended up with this:

I just finished one for the bedroom a la architheque's jewelry wall...stay tuned!


